How To Setup Free Email Host In Zoho
This article introduce how to set up a free business email in zoho.
Preparation
- Must have a domain name first
- a phone number never apply zoho email before
Zoho features
-
10 free accounts per domain ( possible get more )
-
5G for each accounts
-
CRM, Project, Docs and other – Free version of Google business
Step one - register
Go to Zoho mail
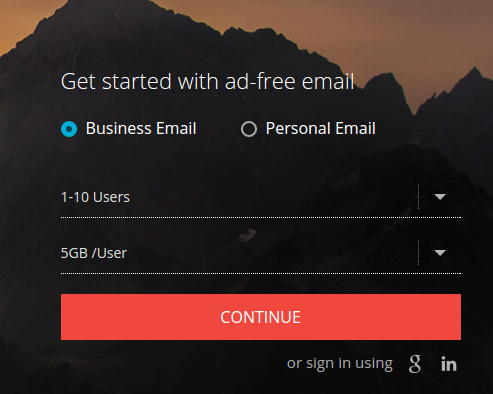
Choose business email and select the free one
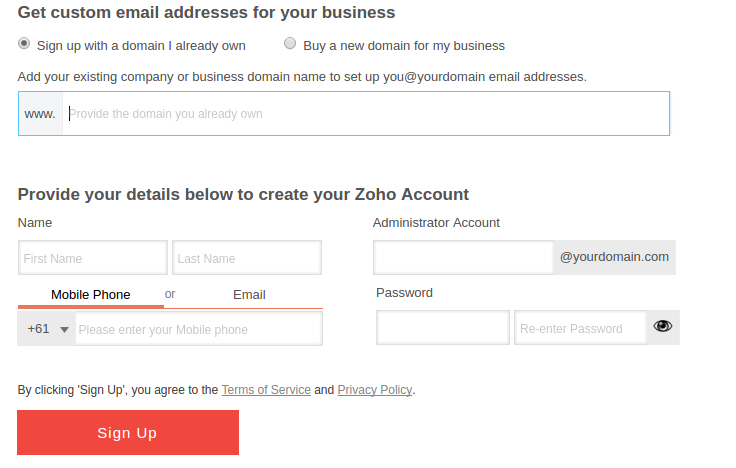
Fill the whole form and click sign up then you should see this
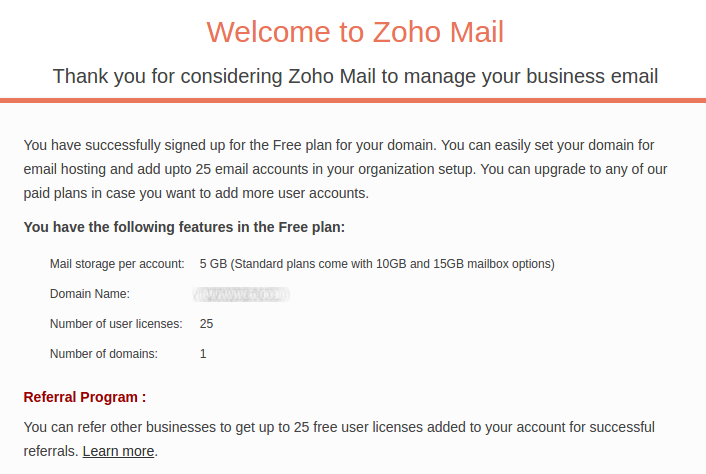
Step two - setup
Then you come to the setup steps
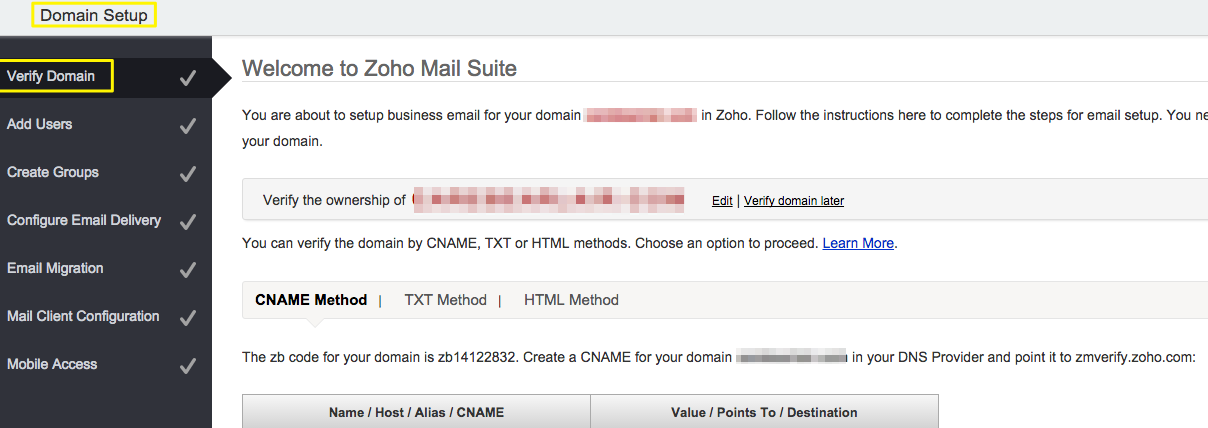
- Verify domain – modify DNS record to prove you have the ownship of certain domain
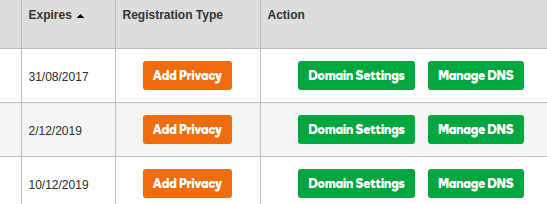
Open a new browser tab to your Domain DNS manage page of the registrar (eg godaddy),
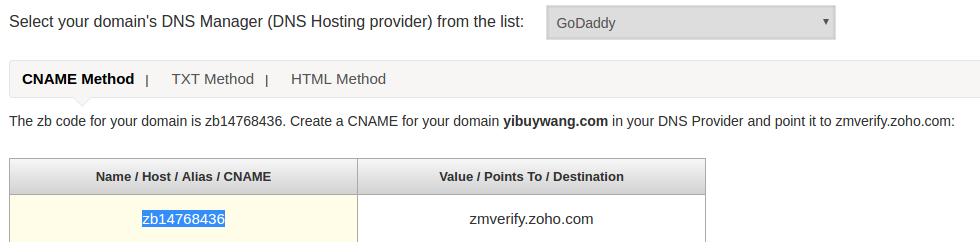
You can choose CNAME or TXT method
Copy the record
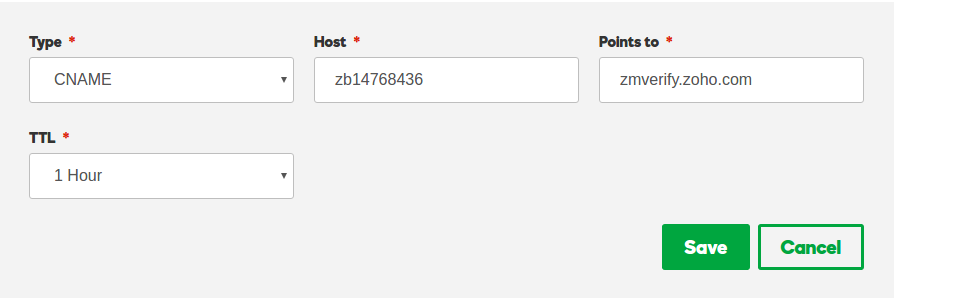
Add new CNAME record in the DNS zone
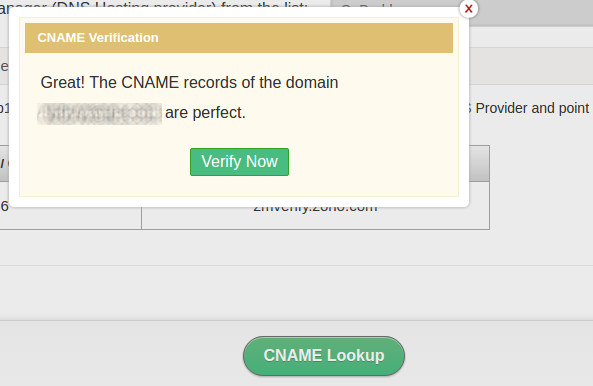
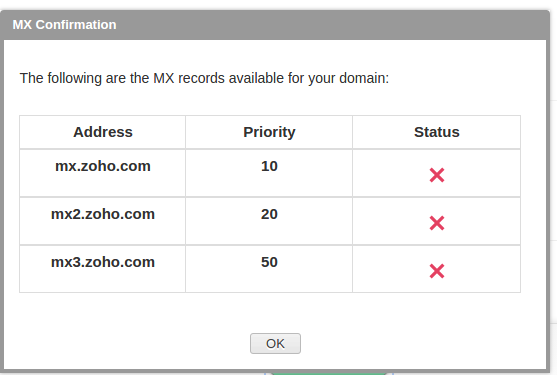
Wait for sometime ( an hour ) to click CNAME lookup button on center buttom
After the domain is verfied. You can choose add users or groups according to youself, or you can add them later.
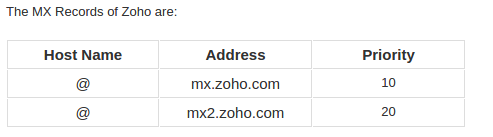
- add or edit mx record in DNS Zone
Now you need to tell you domain that zoho is hosting your email services.
Exactly same step as add CNAME record in the DNS zone. If there were already mx records in the DNS, just edit them.
Copy record
Add or edit

Again, you need to wait for a while unitll the changes take effect.
You can set or skip the following steps in terms of you needs.
Finally
Done! You can can enter your business email now. You can test it by sending mails to your other accounts.